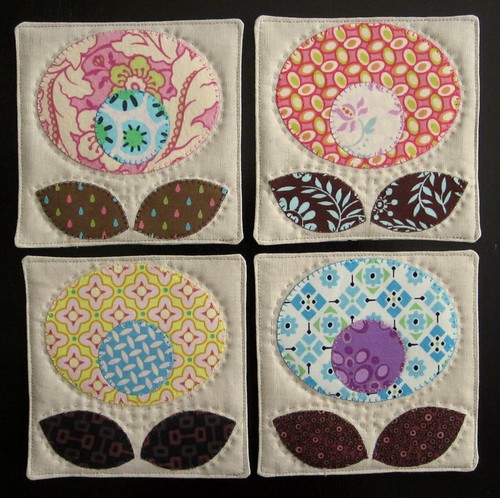
Jess from Twin Fibers had this tutorial on her blog and I think they're gorgeous so I've posted them and put them in my very large to do list.
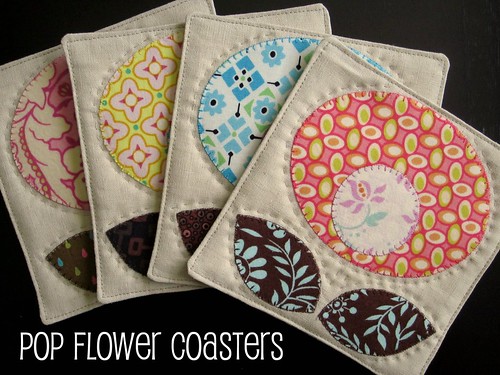
Would you like to make these cute coasters with me?
Today I'm going to show you how! These are a great little project for introducing you to raw edge applique.
Let's get started:
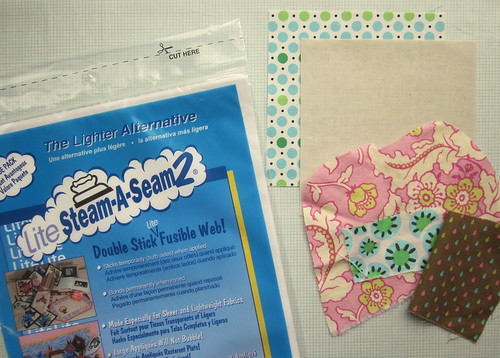
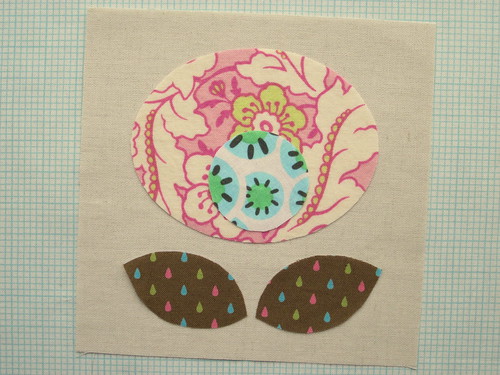
First you're going to need some supplies.
For each coaster you will need:
some fabric scraps for the flower and leaves
a 5.5" square each of a solid fabric for the front and a backing fabric
a 5" square of batting (not pictured)
and a double sided fusible web product (I'm using Lite Steam-a-Seam). There are several fusible webbing products on the market, just make sure to read the directions on the package if you are using something different.
You'll also need to print off the templates below or draw your own.

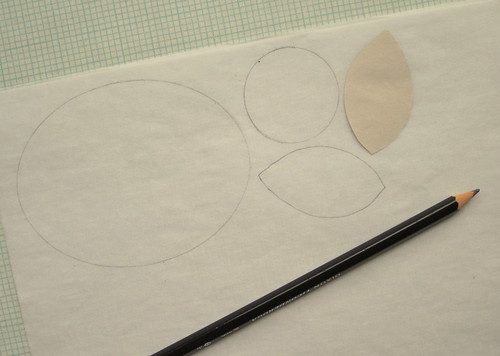
1. Trace your pattern pieces onto a sheet of the Steam-a-Seam. Trace onto the paper that seems more stuck to the fusible web. (One side of the paper on the webbing wants to come off easily and the other side is stuck on more.) Also, make sure you are tracing the reverse image of what you want cut out (not important with this project, but it is if you want to cut out letters from the alphabet).
Roughly cut your shapes out.
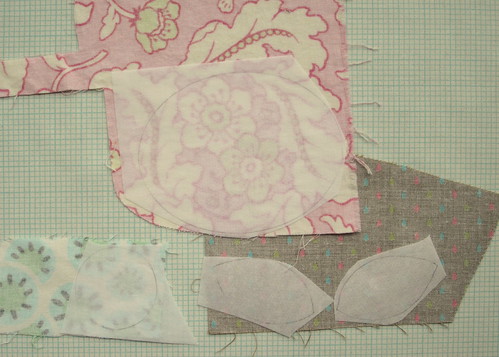
2. Remove the paper from the Steam-a-Seam that you don't have your shape drawn on. Press your shape onto the backside of your fabric scraps.
Cut your shapes out along the pattern lines.
3. Place your pattern pieces onto your 5.5" square of fabric for the front. When you like your arrangement, peel of the piece of paper on the backing and stick it to the base fabric. Then you can iron the shapes down.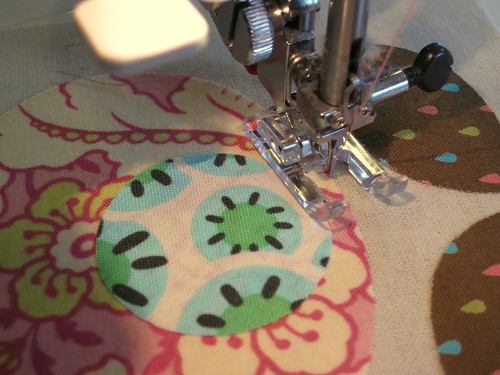
4. Now, you're going to start stitching around each of your shapes. I like to use a decorative stitch that's programmed into my machine, but you can use a small zig-zag too.
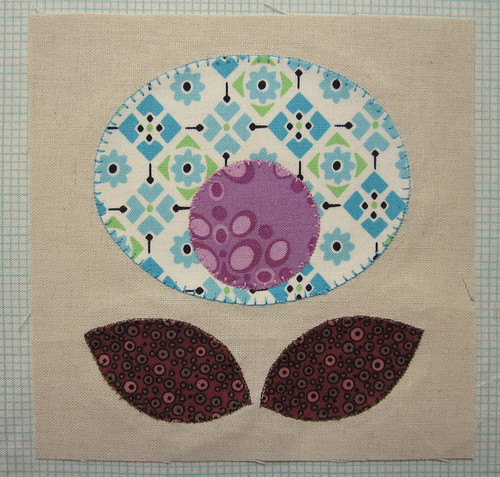
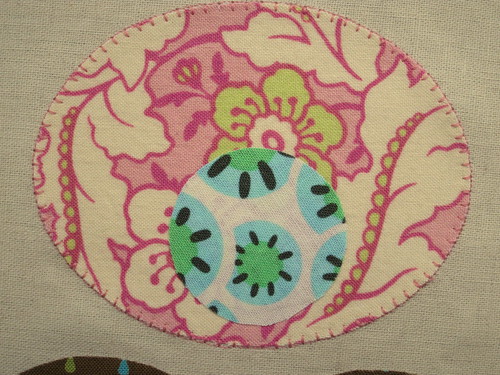
5. Here you can see where I've stitched around all the shapes with a coordinating thread color.
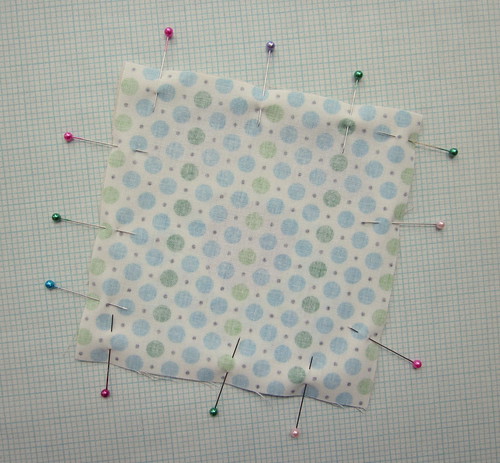
6. We're done with the applique part and now we're going to finish making the coaster. Take your backing fabric and place it right sides together with the appliqued front.
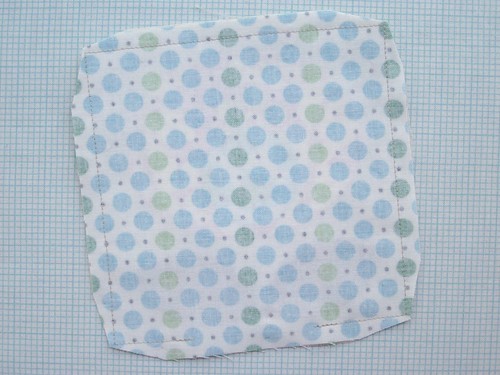
7. Stitch around the square leaving an opening on one side. Clip the corners as shown.

8. Cut a piece of batting a bit smaller that your stitching lines. I found it really helpful to spray baste this piece of batting onto the back side of the backing fabric before you turn it right side out.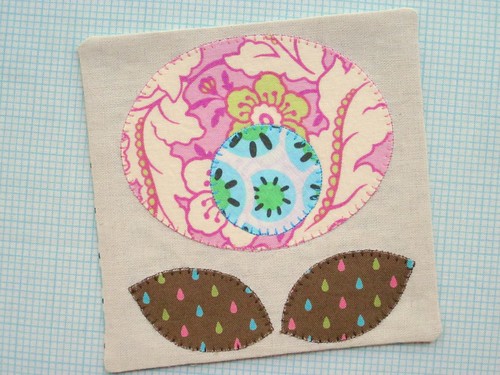
9. Turn your coaster right side out and press.
10. Stitch around the outer edge, closing the opening for turning.
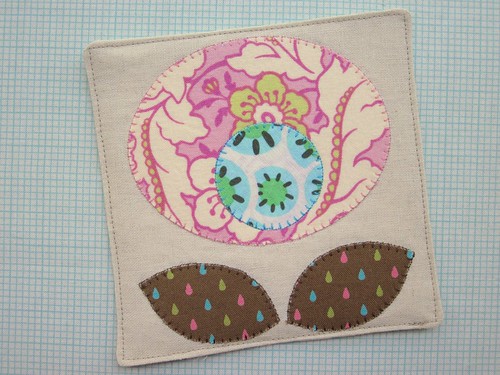
11. Add some hand quilting around the flowers and leaves to hold everything in place.
No comments:
Post a Comment