I hate to do this but as Summer feels like it's finished (please don't go sun), I have found a tutorial on a very sweet scarf that looks SO easy.
Found over at a great blog Happy Together
What you need:
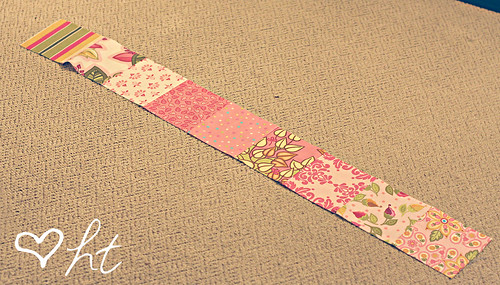
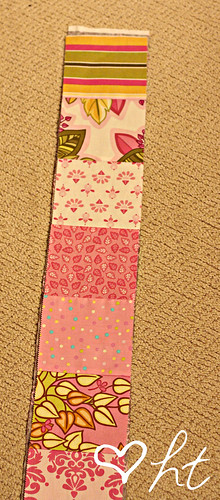
-9 five inch quilt squares for each scarf
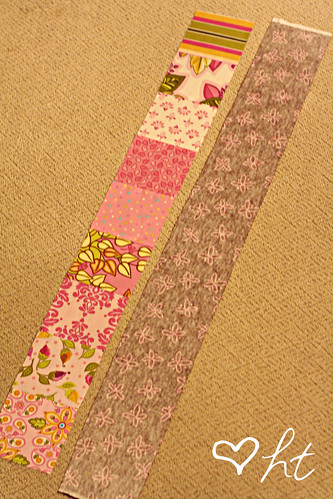
-1/4 yard of flannel fabric for the backing (all of mine came from JoAnn's)
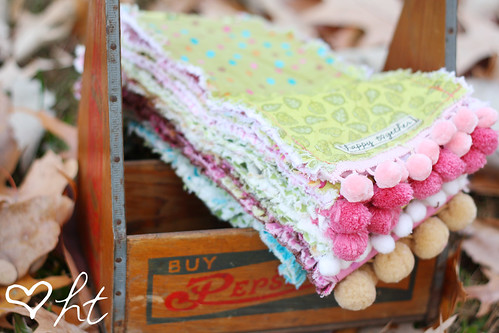
-10 inches of trim for the ends (I used pom pom trimming on all of mine)
1. Sew the squares together, right sides facing, to create a long row.
2. Place the row on the flannel and cut out the exact size of the quilt square row.
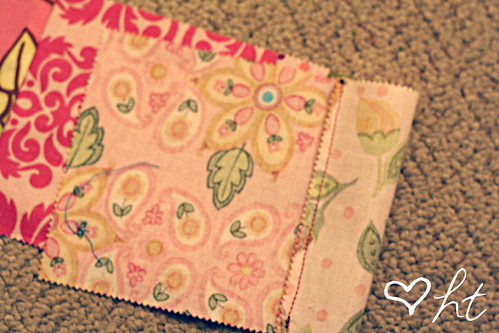
3. Place the flannel piece right side facing down and then put the quilt square row on top, right side facing up. Pin together.
4. Sew together down the sides, but leave a good inch or so free at the ends.
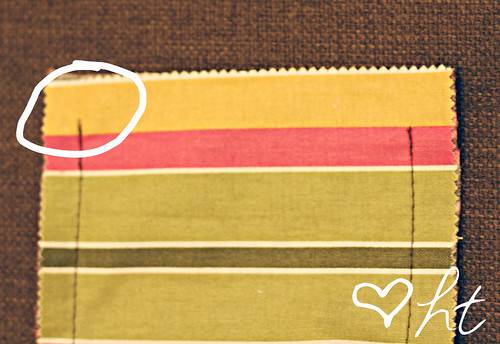
5. Pin on the trimming inbetween the 2 pieces of fabric on the ends. Sew the 3 layers together. Then sew up the sides if there is any place left open.
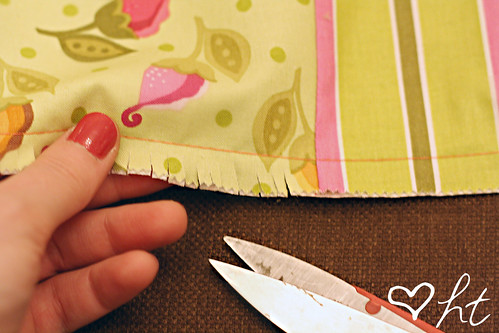
6. Go down the sides and clip towards the seam, making sure not to clip through the seam.
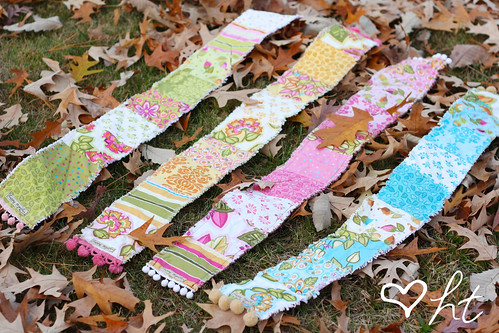
7. Throw in the washer or just wet it really good. Then put it in the dryer to dry.
8. When it comes out, you might have to pick off some threads, but other than that it is done.
No comments:
Post a Comment